DIY Fridge Magnet Craft for Seniors – Dementia Activity
DIY Fridge Magnet Craft made easy for seniors living with dementia.
These easy-to-make refrigerator magnets make a great senior craft! Perfect for individuals and groups.
This popular craft is one of the easiest senior activities I’ve done with Mom. With just a couple of small adaptions to make this craft dementia-friendly you really can’t mess this one up. The magnets look beautiful and are something your senior will be proud to give as a gift or use themselves!
This page contains affiliate links (which means if you make a purchase after clicking a link I will earn a small commission but it won’t cost you a penny more). I only share things I love and would recommend to my best friend. Click here to read my full disclosure policy.
Here’s what you need.
DIY Fridge Magnet Craft Materials
- Jumbo clear glass gems – These are typically used as decorative filler in vases. I used these from Michaels.
- Mod Podge – We used Extreme Glitter Mod Podge because, well, glitter. But matte should work as well.
- Magnets – Craft magnets like these.
- Glue – We used Glue-All.
- Decorative scrapbooking paper or cardstock – We picked this pack with a vintage look.
- Paintbrush
- Scissors
- Paper cutter (optional)
- DIY Fridge Magnet printable materials list and instructions (available in my Resource Library)
How to make DIY Fridge Magnets with your senior
STEP 1 – Choose and prepare the decorative paper
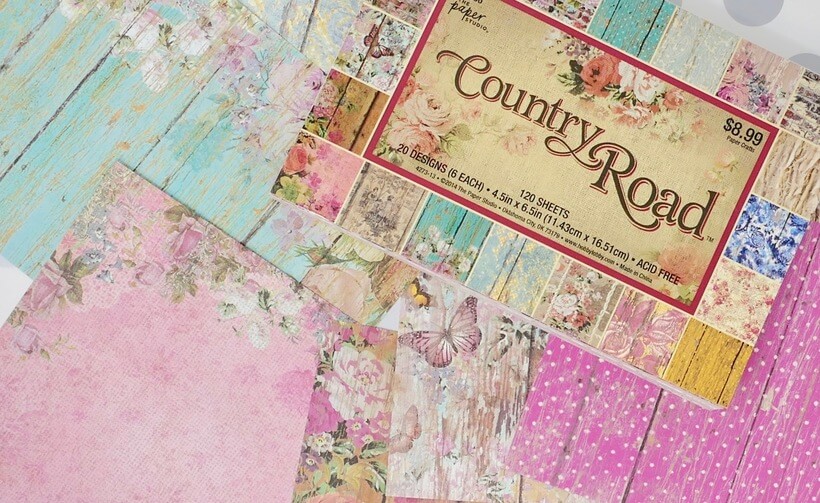
Choose the decorative paper you’ll be using. We used this pack of 4.5 x 6.5 scrapbooking paper. Mom loved the vintage look! Choosing a coordinating paper pack ensures your magnets will all look great together when you’re done. You could use any paper for this. We are going to make another batch using a map of my mom’s hometown. I think it will be great for reminiscing.

Prepare the paper by cutting it into squares (or in our case rectangles) a little bigger than your glass gems. I did this for Mom before we got started, but depending on your senior’s current cognitive level, they may be able to do this themselves.

STEP 2 – Paint Mod Podge on the paper squares
We used Mod Podge Extreme Glitter and Mom’s magnets turned out beautiful! If your senior isn’t fond of glitter, I’m sure matte Mod Podge would look similar… but without the sparkles. We’re planning on using the matte when we make map magnets.

I put a little Mod Podge in a paint tray and gave Mom a paintbrush for application. You could use a foam brush for this as well. Before Alzheimer’s, Mom loved painting. So I thought the paint tray and brush would be things she would enjoy.

I told Mom to choose the prettiest spot on the paper and paint a circle of Mod Podge on it a little bigger than the glass gem. It really doesn’t matter if it’s a circle. You just need Mod Podge to cover the area the glass gem will be placed.
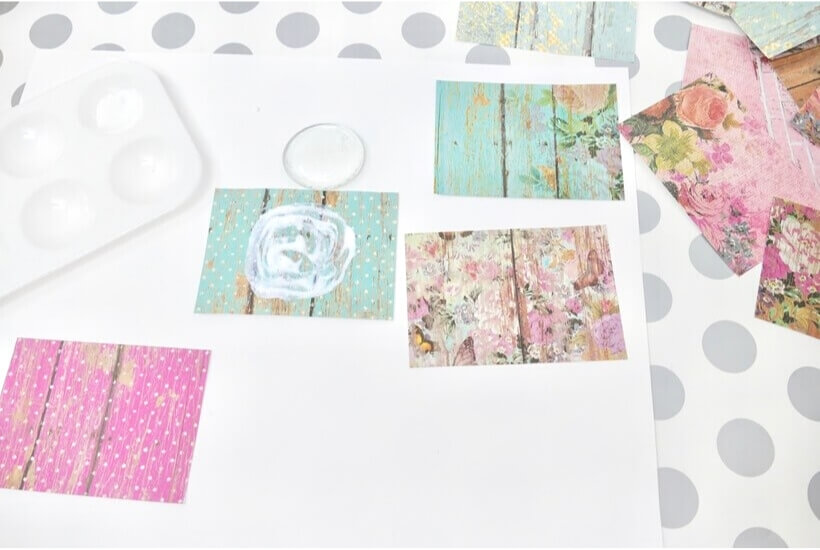
STEP 3 – Place the gem on the paper
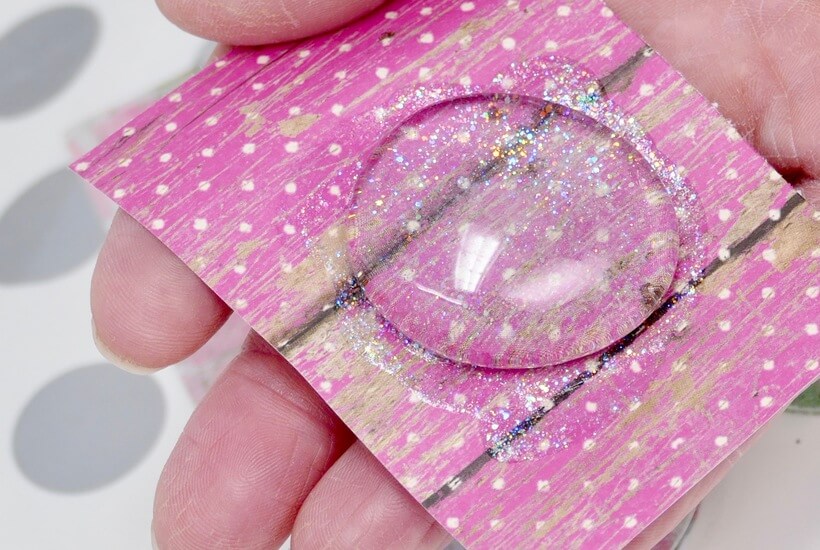
Now, just place the gem on top of the Mod Podge and let it dry thoroughly. We let ours dry overnight.


STEP 4 – Trim around the gem
When the Mod Podge is completely dry, use scissors to trim around the gem.
Most tutorials for fridge magnets will tell you to cut the paper the size of the gem and then Mod Podge it to the gem. This can get tricky. The gems are not exactly round. So once it’s cut out, you have to line it up just so onto the gem or you have paper lapping over the edge or parts of the gem that aren’t covered.
All of this is solved by sticking the gems to the paper before cutting it out. The Mod Podge dries stiff and is easy to cut. The hard gem makes the perfect template. You can’t mess it up. Mom had no trouble trimming the paper around the gem with kid scissors. And the edges of the gem curve under making trimming very forgiving. They turned out great!

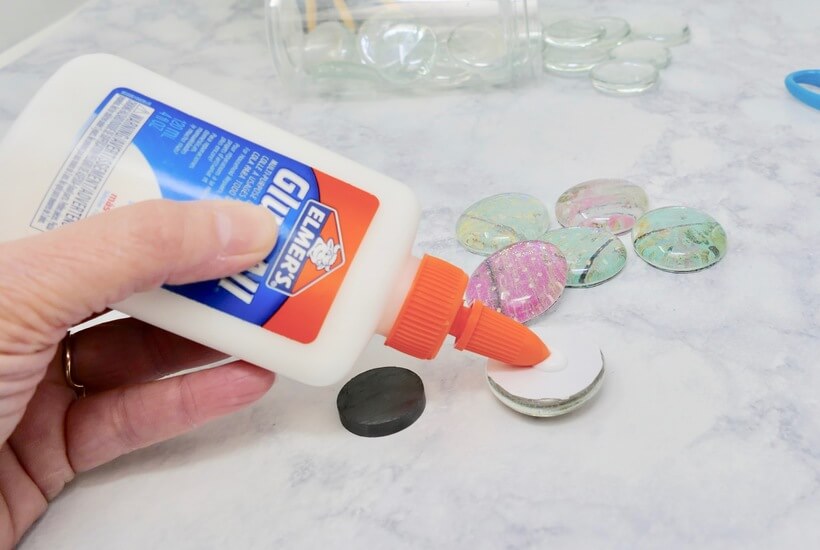
STEP 5 – Glue on the magnet
Now you’re ready to glue on the magnet. Since I have to be really careful when Mom uses a glue gun these days, we decided to attach the magnets with Glue-All. It’s supposed to be stronger than regular craft glue. So far all our magnets still seem firmly attached.
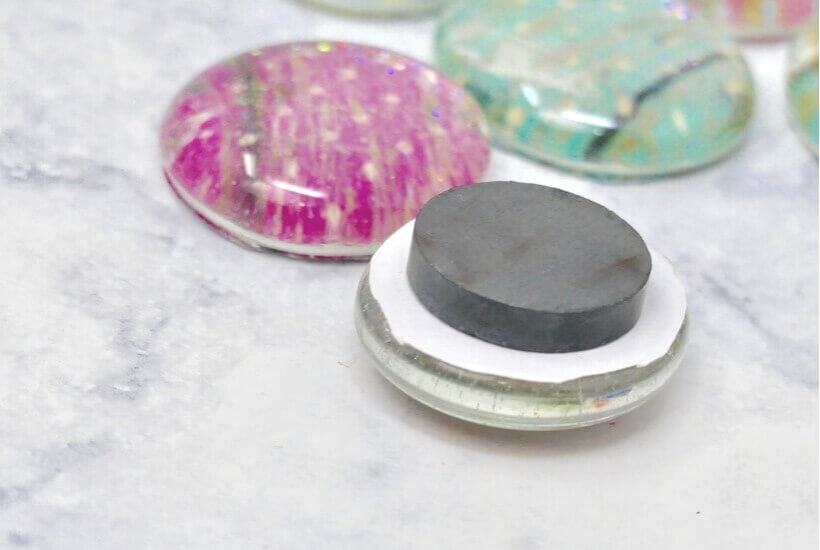
This craft was so easy and pretty inexpensive! Mom and I have already talked about her making sets of these as birthday and Christmas gifts.

Mom, who is currently a pretty solid stage 5 Alzheimer’s, can definitely make these independently. #caregivergold (Mom doesn’t put things in her mouth like some seniors living with dementia do. So watch out for that with the gems and magnets if your senior is prone to mouth things.)
Would you like to do this project with your senior or with a group? My resource library has a senior-friendly large print materials list and step-by-step instructions in a convenient pdf printable. Get the password to my free resource library of Alzheimer’s activities and caregiver resources when you subscribe to my weekly newsletter list! Fill out the form below for instant access! (If you’re already a subscriber, the password to the library is at the bottom of every email I send.)
More DIY Fridge Magnet Ideas
Maps – Cities your senior lived in or visited
Photos
Holiday-themed
WANT TO REMEMBER THIS?
SAVE THE DIY FRIDGE MAGNET CRAFT DEMENTIA ACTIVITY TO YOUR FAVORITE PINTEREST BOARD!
Need more Alzheimer’s activity ideas? See our huge list HERE!





Love it, love it, love it!
I will definitely be doing this with my respite Alzheimers group at church.
Hi Shirley, YAY! Let me know how it goes with your group! Anne
I know I am a little late for responding but you can also glue those closure pins onto the back with E6000 glue for a broach ! They are beautiful!
I love this idea. I am going to do these with my residents. Thank you.
Hi Kay,
So glad you found my blog! Blessings! Anne
Your blog is great, thank you for what you are doing! Both of our parents have been diagnosed with Alzheimer’s under the age of 70. We too are starting to tell our story:
Thanks, Betsey! I’ll be sure to check out your site! Anne
Amazing Blog! This will give idea for many. Thanks for sharing with us!